Products
mightyZAP, the micro linear servo actuating solution for the era of the 4th industrial revolution
Menu


Power Gender Jack
IR-AG01
- Adaptor Power Gender Jack
- External Diameter 5.5mm / Internal Diameter 2.1mm
- Max Allowable Current : 7.5A
- Input Voltage : 12VDC
- EC381V Terminal Applied
- To be used when applying an AC/DC adapter to our boards
Main Features
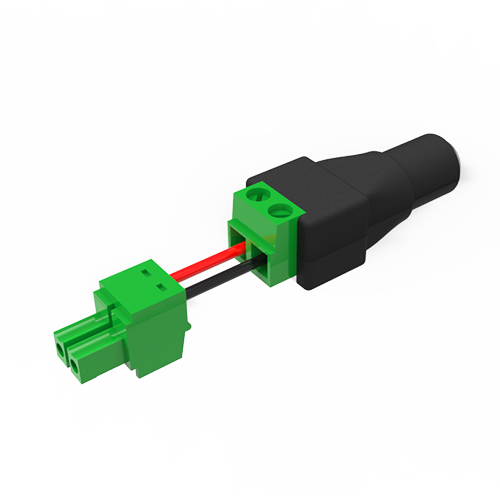
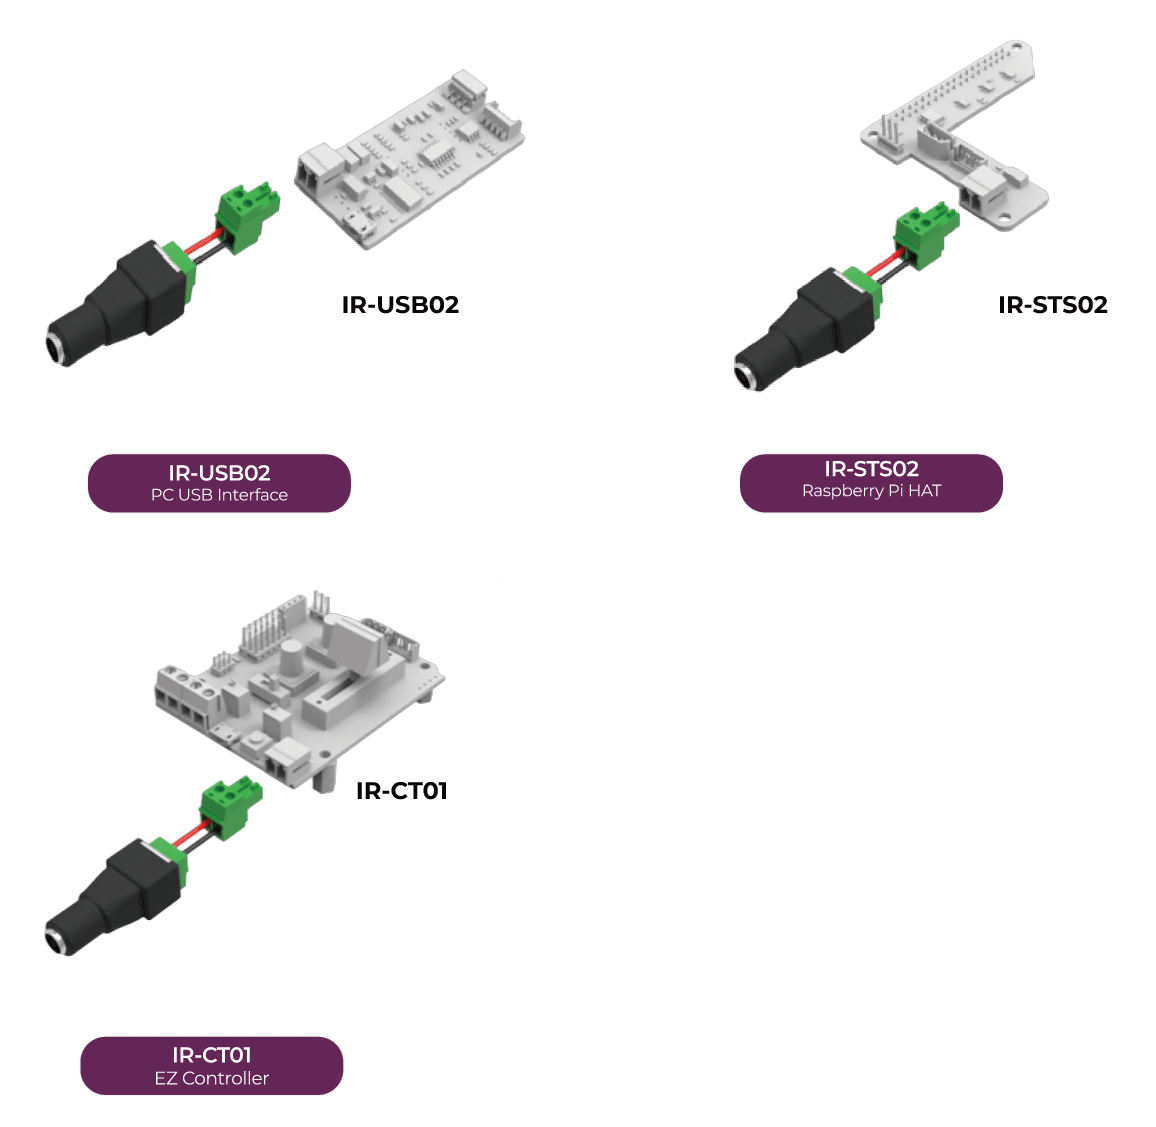
The IR-AG01 is a power gender jack between AC/DC adapter power jack and power terminal on our various control boards (see below).
Please check if the jack of the adapter you have meets the size specification below.
How to Use / PIN Map
This product is supposed to be assembled by the customer referring to the assembly manual.

Components before assembly

Assembled product
[ Specification ]
– Outer diameter 5.5mm / Inner diameter 2.1mm
– Maximum allowable current: 7.5A
– Input voltage: 12V
– EC381V terminal block applied
– Maximum allowable current: 7.5A
– Input voltage: 12V
– EC381V terminal block applied
[ Components ]
① Terminal Gender : 1pcs
② Terminal Block : 1pcs
③ Wire(Red +) : 1pcs
④ Wire(Black -) : 1pcs
② Terminal Block : 1pcs
③ Wire(Red +) : 1pcs
④ Wire(Black -) : 1pcs

* (Caution) If the directions of ①Terminal gender and ②Terminal block is connected incorrectly (reversely), it will cause fatal damage to the circuit parts which will be connected with gender jack, so please make sure correct polarity.
* (Caution) Always pay attention to safety when assembling using tools.
[ How to Assemble]
After checking the + and – marks of the ① Terminal gender,use a phillips screwdriver to loosen two screws(A) in a counterclockwise
direction. Make sure that they do not come out of the hole.
Referring to B, put the ③(red+) and ④(black-) wires into ①Terminal gender, then completely tighten two screws(A) clockwise.
direction. Make sure that they do not come out of the hole.
Referring to B, put the ③(red+) and ④(black-) wires into ①Terminal gender, then completely tighten two screws(A) clockwise.

As described in the left drawing, rotate the two parts ① and ② by 180O(upside down). Prepare to fasten two wires (③Red+, ④Black-) to ②as shown in the right drawing.

Put the wires ③(red+), ④(black-) into ② Terminal block, then use a flat-head screwdriver to completely tighten two screws(C) clockwise. After assembly, check out that ①, ② directions and ③, ④ wire color are correctly assembled as shown in the drawing below before use.

[ Control boards that can be used with IR-AG01 ]
– IR-USB02 PC USB Interface
– IR-STS02 Raspberry Pi HAT
– IR-CT01 EZ Controller

